When ZSA announced a new keyboard a couple of weeks ago and said it was in stock and ready to ship immediately, I managed to last about five minutes before clicking the Order button. ZSA, makers of the Ergodox EZ and more recently the Planck EZ, have stepped things up with a new keyboard that is an entirely new design (the Ergodox and Planck EZ are based on open-source keyboards).
I was interested in the Moonlander primarily as part of my initiative to experiment with keyboards that are Planck-like but have some extra thumb keys to make things a little easier for me. The Moonlander has an extra row on top, which makes it more similar to a Preonic with extra thumb keys.
But one thing in particular caught my eye about the Moonlander: the thumb clusters are on a hinge and adjustable. Being someone for whom the thumb keys often either are in my way or are a real stretch for the thumbs to reach (looking at you, Keyboardio Model 01), this seemed quite promising.
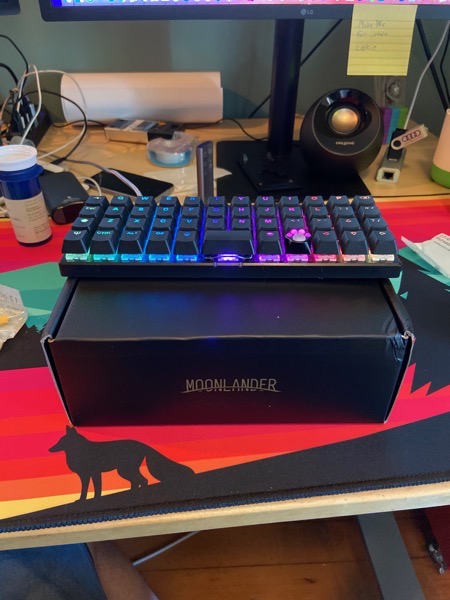
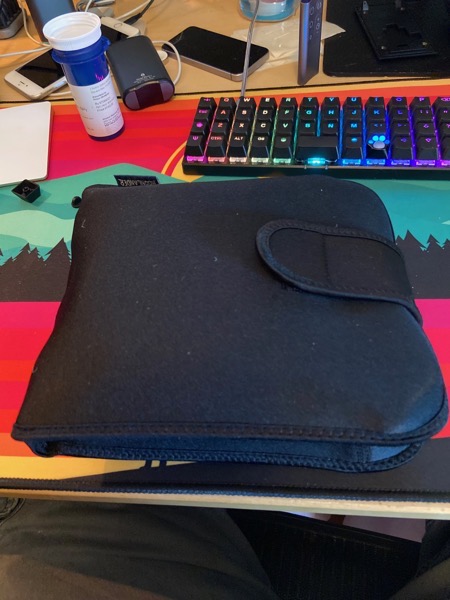
Fast forward to today (well, yesterday), and my friendly UPS driver drops off a surprisingly compact box on my doorstep. I open it up and find it has a beautiful unboxing experience, and the keyboard comes with a nice little carrying case.


I immediately got to work adapting my own keyboard layout to this keyboard (That’s right! I’m giving it my own custom layout. This keyboard is fully programmable so its layout can be whatever you want it to be. More on that in a bit). Instead of using the layout it came with, I am instead making this layout a superset of my Planck layout, which is what I’ve been doing with all the ortholinear-layout keyboards I use. They’re all at least as big as a Planck, so they contain a Planck inside of them.
Onions have layers, keyboards have layers
When using a relatively compact keyboard like one of these, you will find the need get multiple keys’ worth of mileage out of each individual key on your keyboard, and one easy way to accomplish this is with layers. You can assign keys to let you switch between layers. They can either work like a standard modifier key where you’re on the other layer as long as you hold the other key down, you can have the key toggle the layer on/off, or you can even have a one-shot layer switch, where you tap the key quick, then the next key you tap is on that layer and the keyboard automatically switches back. You can even have a key that lets you hold to momentarily switch layers, but will toggle the layer on if you tap the key.
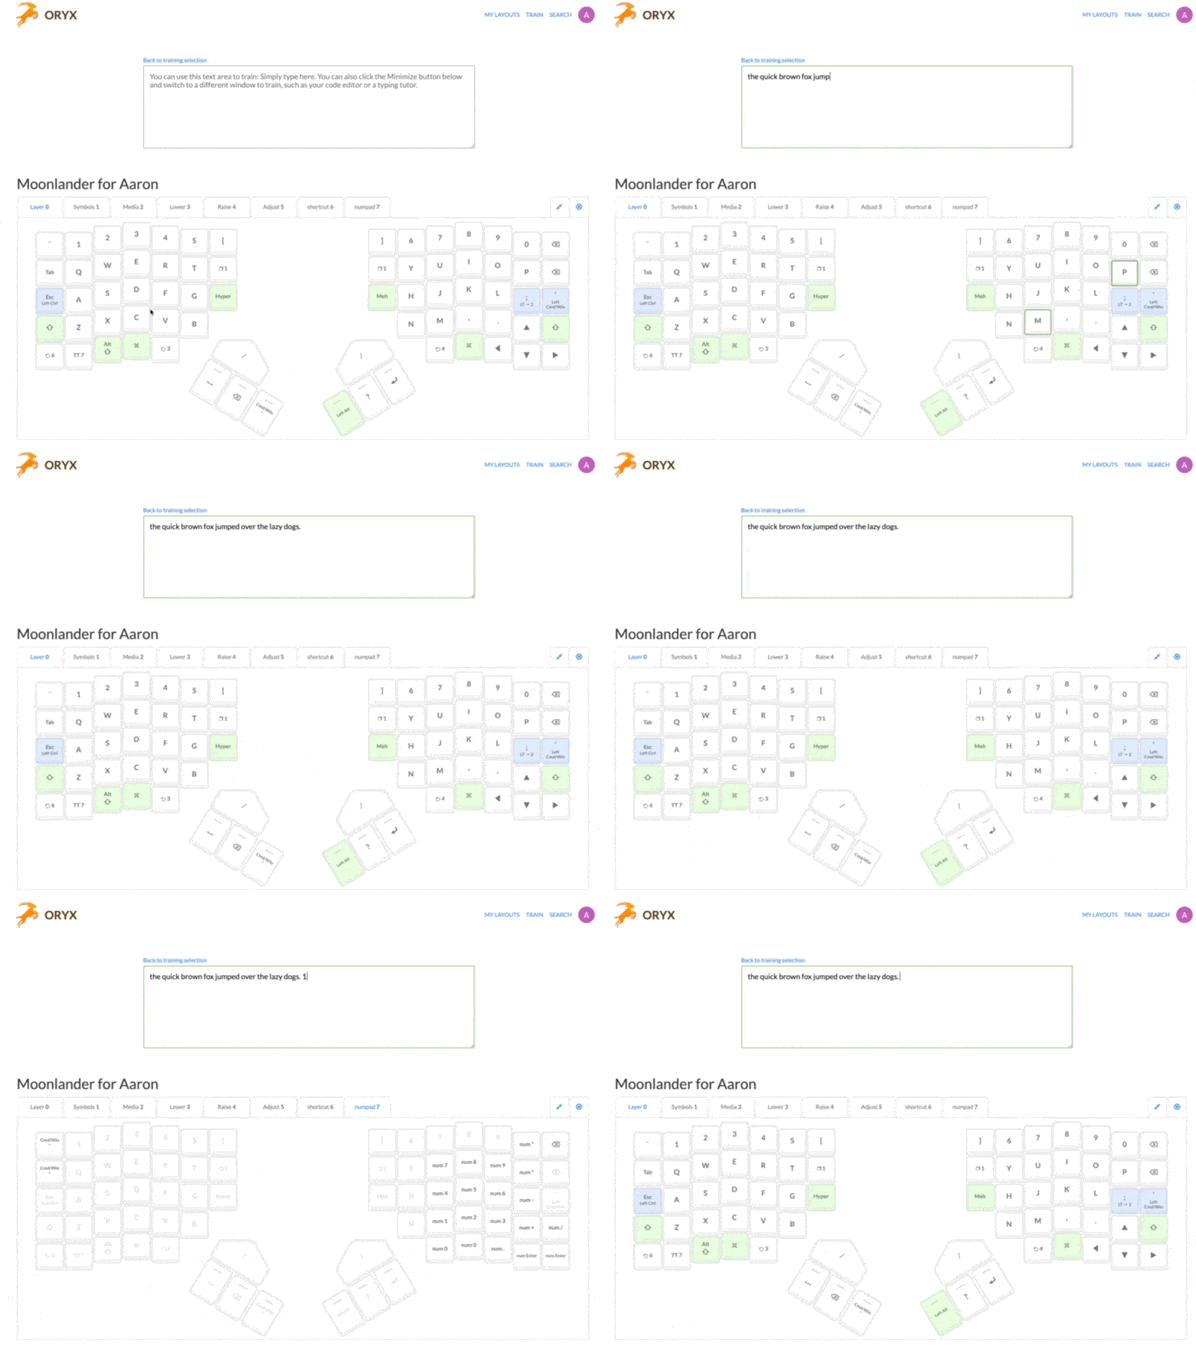
Your computer traditionally is none the wiser about these layers; all the computer knows is that the keyboard sends keypress events to it and it processes them, and the fact that there are layers is not really known to the computer. But ZSA have made a clever feature in their keyboard configurator called “Train”that allows you to actually explore your keyboard layout in real time, and it gives you visibility into the layer keys you’re pressing. Let’s have a peek at that now:

This goes beyond a traditional typing tutor application because it also provides visibility into the layers you have on your keyboard and it indicates which is active and what keys are available on that layer. If you’re new to the whole concept of layers on keyboards this is a really valuable learning tool, and even an experienced curmudgeon like myself enjoys this as a testing/debugging tool.
And if your keyboard layout turns out to be unusable? No worries! You can just reprogram it and re-flash it.
Keyboard features and quality
tl;dr: It’s a quality keyboard. Nothing to worry about here.
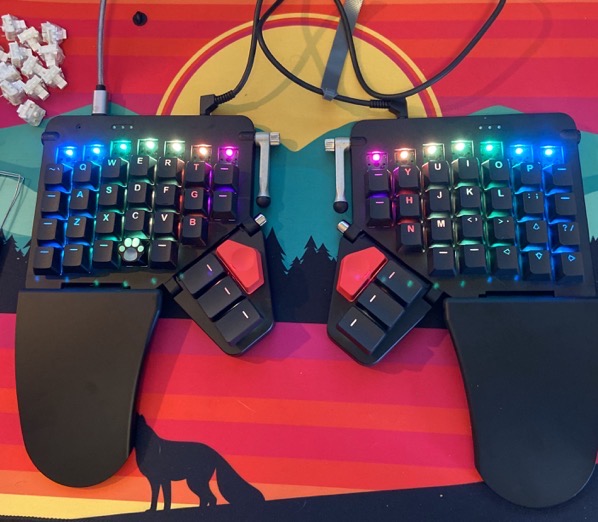
The keyboard itself is surprisingly thin when unfolded. It’s just over half an inch thick. It can be used flat (which is how I’m using it currently), or you can tent it at whatever angle you like. Actually getting the tenting situated looks a little bit fiddly, but there’s a helpful YouTube video demonstrating how to do it.
The key caps it comes with come in a DSA profile, which means that the height and angle of the keys is the same on every row. If you don’t like this, there is a cottage industry of small makers selling their own third-party key caps for mechanical keyboards. You might have to buy some add-on kits to get enough caps for this keyboard, but for most key cap sets a base kit plus an ortho kit will probably be just fine.
The keyboard has RGB LEDs under each keyswitch, and the firmware for the keyboard comes with a variety of fun animations built right in. The LEDs’ brightness and hue can be adjusted on the keyboard, and they can be turned off entirely for those who hate the whimsy. And the keyboard isn’t just a visual delight; it also has a built-in PC-style speaker which can even be used to play little tunes if you’re into that kind of thing (and the speaker can also be turned off if you don’t want it making a chirp when you connect it to your computer).
The build quality is absolutely fantastic. The keyboard is made of plastic but it has a decent amount of heft to it (something I can’t say for ZSA’s Planck EZ which is so light it feels cheap).
As any good modern mechanical keyboard, it uses a USB-C connector on the back, and the switches aren’t soldered onto the board; they are instead hot-swappable, so if you change your mind and want a different type of feel to your keyboard you can just pop out the switches and put in new ones.
The keyboard comes with a 2 year warranty as well, and I can say that all of my interactions with their support team are spectacular. They helped me troubleshoot a pretty gnarly issue last year with my Planck that ended up being caused by the animation code using up too many processor cycles and causing my keyboard to not respond correctly in all cases.
The switches
I chose Kailh Box White switches for this keyboard. ZSA offers a decent selection of switches with their keyboards, but one thing I really wish they and other keyboard vendors would offer is an option to buy a keyboard with the key caps but no switches so I can pick exactly the ones I want later, because these wouldn’t have been my first choice.
My first choice would probably have been Kailh Box Jade or Box Navy switches, which are part of their “thick click”series. They’re… so luxurious to type on. But I digress.
The Box White switches are nice and clicky, and have a bit more of a “chonkier”sound than, say, Cherry MX Blue switches, often the default keyswitch people think about when they think about a loud and clicky keyboard.
The click from these switches is lower in pitch compared to an MX Blue.
Let’s hear these compared to a couple other of my favorite switches:
In person the differences between these sounds are quite different (in particular the Box Royal switches are much quieter in person than the recording would have you believe). And if you don’t really need or want a loud and clicky keyboard there are plenty of much quieter keyswitch choices available to you, although they often have a more dampened tactile feel to them as well when you type on them.
A… nonstandard configuration
I got used to the layout of this keyboard pretty quickly, but one thing kept driving me nuts: as a long time Planck user, that top row of keys felt superfluous and the keys were getting in the way.
I initially worked around this by making the top row of keys do the same thing as the second row of keys in most layers, but it still felt clumsy.
Then I realized: It’s a totally customizable keyboard with hot-swappable switches; I can do something about this!
So… I just took the top row of keys out entirely.

It looks silly and I am getting blinded by these extra LEDs while I figure out how to make some plastic placeholders to go in place of these keyswitches, but it works pretty well!
Of course, if ZSA makes a compact Moonlander that drops that top row I’m totally dropping another few hundred bucks.
I also might explore trying to find a super low-profile MX-compatible key cap that can go on that top row so that I can retain those extra keys, but without them always necessarily being in my way. I might even look into 3D printing some miniature caps that go right over the stem but don’t cover the rest of the switch, leaving the keys accessible, but not in a way I’m ever going to mistake for a regular key. I might also put in a row of artisan key caps on that top row.
Verdict: should you buy one?
Yeah, if you want one! It’s a great choice of keyboard.
If you’re currently using a standard keyboard layout, you need to give yourself time to adjust to this one though, because it’s pretty radically different. It’s a split keyboard, for one thing. It also uses a columnar (aka ortholinear) layout, which is going to feel unnatural to someone who is used to staggered rows of keys on traditional keyboards. And if that’s not enough, you have to get accustomed to the fact that there’s not a space for all of your symbol keys in the normal spot on this keyboard.
You’re not going to be typing at full speed on this keyboard the day it arrives on your doorstep like I am (unless you happen to be adapting a very similar keymap from another similar keyboard like I did)
And I think ZSA is a great little keyboard shop and they’re very deserving of your business.
Verdict: will it unseat my Planck as primary keyboard?
It could.
One thing that I really love about the Planck is how accessible every single key feels on it. I necessarily can’t get that same experience with these bigger keyboards because, well, they have more keys and when you add more keys, you’re eventually going to end up with some that are a farther reach.
What I can say so far is that once I got my layout on here, I’ve felt completely at ease and at home on this keyboard. It makes for a great keyboard for my desk, and it has a very good chance of becoming my daily driver.
Of course, when you have the massive collection that I have (that keeps getting larger), you can end up with an awful lot of daily drivers!
Leave a Reply